How to Convert 3MF to STL (5 Free Methods)
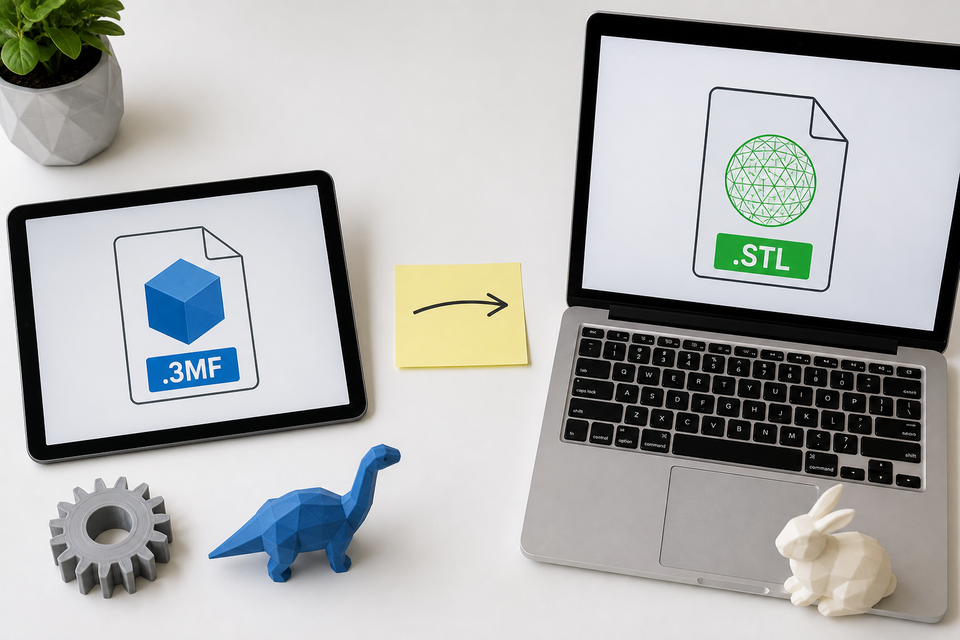
You downloaded a 3D model and it's a .3mf file. But the software or service you need to use only accepts .stl. Now what?
Converting 3MF to STL is straightforward and free. You don't need to buy any software. This guide covers five methods: an online tool that works in any browser, and four desktop applications you might already have installed. Each method takes under a minute.
Before we get into the how, a quick note on why this conversion exists and what you should know before you do it.
You downloaded a 3D model and it's a .3mf file. But the software or service you need to use only accepts .stl. Now what?
Converting 3MF to STL is straightforward and free. You don't need to buy any software. This guide covers five methods: an online tool that works in any browser, and four desktop applications you might already have installed. Each method takes under a minute.
Before we get into the how, a quick note on why this conversion exists and what you should know before you do it.
3MF vs STL: Why You Might Need to Convert
STL is the oldest and most universal 3D printing file format. It stores only the mesh geometry of a model (the shape, defined by triangles). Nothing else. No color, no material, no print settings.
3MF is the newer format designed to replace STL. A 3MF file can contain everything STL has plus: color assignments, material properties, multi-part assemblies, print settings, thumbnails, and metadata. Think of 3MF files for 3d printing as a complete project package rather than just a shape.
So why would you ever want to go backwards from 3MF to STL? Common reasons:
- The platform only accepts STL. Some online 3D printing services, older slicers, and CNC software only read STL files
- You're sharing with someone using older software. STL is universally compatible; 3MF isn't yet
- You need to import into CAD software. Some CAD tools (Fusion 360, TinkerCAD) prefer STL over 3MF for mesh import
- A 3D printing community or contest requires STL submissions
If you just want to print the file yourself, you probably don't need to convert at all (more on that below). But if you do need that 3mf file to stl conversion, here are five ways to do it.
You downloaded a 3D model and it's a .3mf file. But the software or service you need to use only accepts .stl. Now what?
Converting 3MF to STL is straightforward and free. You don't need to buy any software. This guide covers five methods: an online tool that works in any browser, and four desktop applications you might already have installed. Each method takes under a minute.
Before we get into the how, a quick note on why this conversion exists and what you should know before you do it.
3MF vs STL: Why You Might Need to Convert
STL is the oldest and most universal 3D printing file format. It stores only the mesh geometry of a model (the shape, defined by triangles). Nothing else. No color, no material, no print settings.
3MF is the newer format designed to replace STL. A 3MF file can contain everything STL has plus: color assignments, material properties, multi-part assemblies, print settings, thumbnails, and metadata. Think of 3MF files for 3d printing as a complete project package rather than just a shape.
So why would you ever want to go backwards from 3MF to STL? Common reasons:
- The platform only accepts STL. Some online 3D printing services, older slicers, and CNC software only read STL files
- You're sharing with someone using older software. STL is universally compatible; 3MF isn't yet
- You need to import into CAD software. Some CAD tools (Fusion 360, TinkerCAD) prefer STL over 3MF for mesh import
- A 3D printing community or contest requires STL submissions
If you just want to print the file yourself, you probably don't need to convert at all (more on that below). But if you do need that 3mf file to stl conversion, here are five ways to do it.
Method 1: Online 3MF to STL Converter (No Software Needed)
The fastest approach if you don't want to install anything. An online 3mf to stl converter works directly in your browser on any device.
Recommended free tools:
- 3DConvert.com: Supports many format combinations beyond just 3MF to STL
- Meshy.ai: AI-focused platform that also offers free format conversion
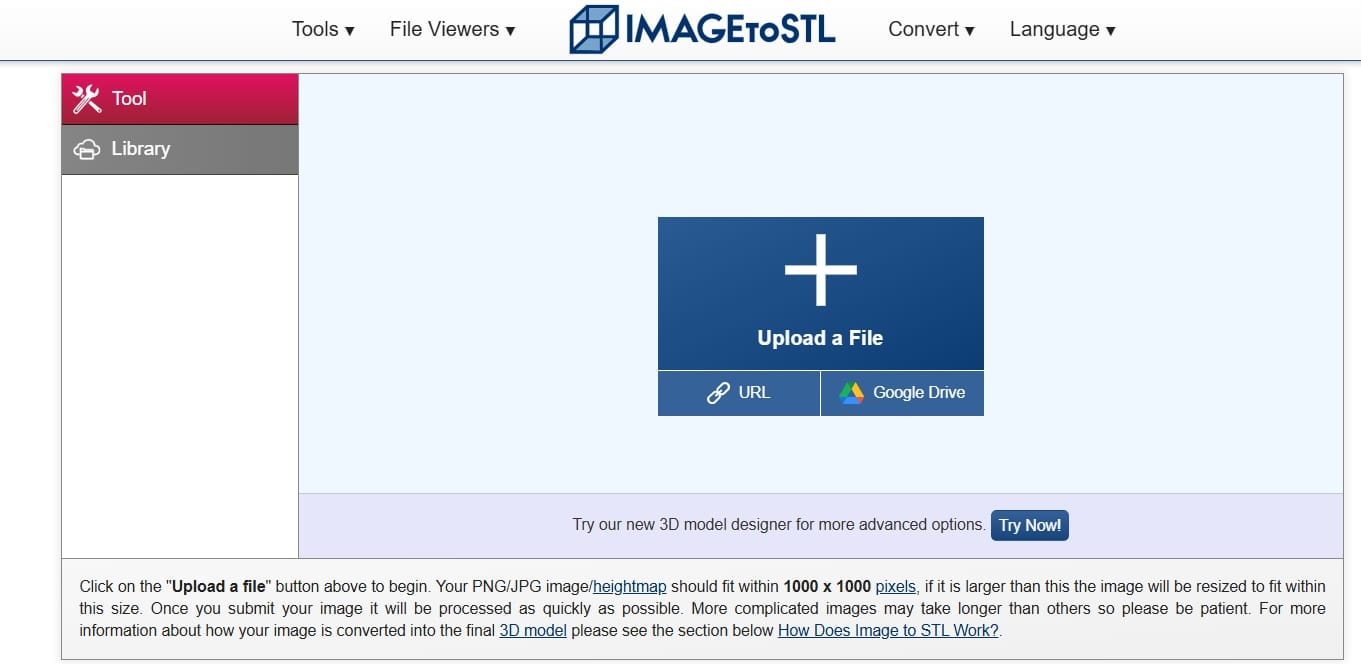
ImageToSTL.com
(imagetostl.com/convert/file/3mf/to/stl): Clean interface, no signup required, supports batch uploads
Steps (same across most tools):
- Go to the converter website
- Click "Upload" or drag your .3mf file onto the page
- Wait for processing (usually 5-30 seconds depending on file size)
- Click "Download STL"
- Done
Pros:
- Zero installation, works on any device including phone/tablet
- Usually handles files up to 50-100MB
- Some support batch conversion of multiple files
Cons:
- Your file gets uploaded to a third-party server (privacy consideration for proprietary designs)
- Requires internet connection
- Very large or complex files may time out
This is the best 3mf to stl converter option for one-off conversions when you don't have specialized software available.
Method 2: How to Convert 3MF to STL in Bambu Studio
If you have a Bambu Lab printer, you already have Bambu Studio installed. It handles 3MF natively (in fact, Bambu Studio's own project files are .3mf).
Steps:
- Open Bambu Studio
- Go to File > Import > Import 3MF/STL/STEP/OBJ (or drag the .3mf file directly onto the build plate)
- The model appears on the virtual build plate
- Right-click the model in the object list (left panel)
- Select Export as STL
- Choose a save location and filename
- Done
Tips:
- If the 3MF contains multiple objects, you can export them individually (right-click each) or select all and export as one combined STL
- If the 3MF contains color/multi-material data, the STL export will merge everything into a single colorless mesh
- You can also use File > Export > Export all objects as STL to batch-export everything on the plate
This is the most convenient method to convert 3mf to stl if Bambu Studio is already your primary slicer.
Method 3: How to Convert 3MF to STL in Cura
Cura (by UltiMaker) is one of the most popular free slicers. It reads 3MF files directly.
Steps:
- Open Cura
- Go to File > Open File(s) and select your .3mf file
- The model loads onto the build plate
- Go to File > Export Selection
- In the save dialog, change the file type to STL
- Choose a location and save
Notes:
- Cura imports the mesh geometry from 3MF but ignores Bambu/Prusa-specific print settings embedded in the file
- Multi-object 3MF files: select individual objects before exporting if you want separate STL files
- Some 3MF files contain print profiles that trigger a "profiles not compatible" warning. Ignore it since you're just converting the mesh, not using the settings.
Method 4: How to Convert 3MF to STL in Blender
Blender is free, open-source, and available on Windows, Mac, and Linux. Versions 3.6+ have built-in 3MF import support.
Steps:
- Open Blender (start with a new General file, delete the default cube)
- Go to File > Import > 3D Manufacturing Format (.3mf)
- Navigate to your file and click Import
- The model appears in the viewport
- Select the model (click it, or press A to select all)
- Go to File > Export > STL (.stl)
- Choose location, click Export
Why use Blender over simpler methods?
- You can edit the model before exporting (scale, rotate, delete parts, repair mesh)
- Batch conversion via Python scripting (see Batch section below)
- Handles very large files better than browser-based tools
If 3MF import isn't available: In Blender versions before 3.6, you need the 3MF add-on. Go to Edit > Preferences > Add-ons, search "3MF", and enable it.
Method 5: How to Convert 3MF to STL in PrusaSlicer / OrcaSlicer
PrusaSlicer, OrcaSlicer, and SuperSlicer all share similar interfaces and support 3MF import.
Steps:
- Open PrusaSlicer (or OrcaSlicer)
- Go to File > Import > Import STL/3MF/OBJ/AMF
- Select your .3mf file
- Model appears on the plate
- Go to File > Export > Export STL
- Save
Command-line option (advanced):
PrusaSlicer supports command-line conversion, useful for batch processing:
prusa-slicer --export-stl input.3mf -o output.stlThis processes the file without opening the GUI, making it scriptable for large batches.
What You Lose When Converting 3MF to STL
Before you convert, understand what disappears in the process. STL is a simpler format, so anything 3MF stores beyond raw geometry gets discarded.
Data lost during 3MF to STL conversion:
- Color and material assignments: A multi-color 3MF (e.g., a painted miniature with 4 color zones) becomes a single colorless mesh in STL. You'd need to re-assign colors in your slicer after importing the STL.
- Print settings: Temperature, speed, infill, support configuration, all gone. The STL is just geometry.
- Multi-part assembly structure: 3MF keeps components as separate logical objects with positioning data. STL export either merges them into one mesh or creates separate files (depending on your export choice).
- Thumbnail and metadata: Author information, copyright notices, preview images, version history.
- Modifier meshes: 3MF can define areas with different print settings (e.g., "print this section at 100% infill"). STL cannot represent this.
What's preserved:
- The complete mesh geometry (shape, dimensions, triangle count)
- Scale (if exported correctly)
Bottom line: If your downstream tool supports 3MF, use 3MF directly and skip the conversion. You keep more useful data. Only convert to STL when the receiving software genuinely requires it.
When You Don't Need to Convert 3MF to STL
Many beginners convert 3MF to STL out of habit or uncertainty. But in 2026, most slicing software reads 3MF natively:
- Bambu Studio: Native 3MF support (it's the default project format)
- PrusaSlicer / OrcaSlicer: Full 3MF support
- Cura: Full 3MF support
- Creality Print: Full 3MF support
If your goal is simply to 3D print the model, just open the 3MF directly in your slicer. No conversion needed. The slicer reads the geometry and (if applicable) the embedded color/material data.
You only need to convert when:
- Uploading to a platform that specifically rejects 3MF
- Sending to someone whose software can't open 3MF
- Importing into non-printing software (CNC, game engines, some CAD tools)
- A specific workflow requires STL for compatibility reasons
When in doubt: try opening the 3MF directly first. If it works, you're done.
How to Convert STL to 3MF (Reverse Conversion)
Sometimes you need to go the other direction. Converting STL to 3MF makes sense when you want to:
- Add multi-color assignments to a plain mesh model
- Bundle multiple STL parts into a single organized project file
- Embed print settings so you (or someone else) can replicate exact results
- Take advantage of 3MF's smaller file sizes (3MF uses compression)
Method 1: Bambu Studio
- Import your STL file (drag onto plate or File > Import)
- Add colors/materials if desired using the paint tools
- Go to File > Save Project As → saves as .3mf automatically
Method 2: PrusaSlicer / OrcaSlicer
- Import STL
- Configure settings, add color painting if desired
- File > Save Project As → saves as .3mf
Method 3: Windows 3D Builder (pre-installed on Windows 10/11)
- Open 3D Builder
- Open your STL file
- Go to Menu > Save As and select .3mf format
Method 4: Online Any stl to 3mf converter online works similarly to the reverse tools. ImageToSTL.com and 3DConvert.com both handle this direction.
For a deeper look at all the file formats used in 3D printing, including when to use each one, see our complete format guide.
Batch Converting Multiple 3MF Files to STL
If you manage a model library or run a print farm, converting files one at a time is tedious. Here are batch solutions:
Online batch conversion: ImageToSTL.com and similar tools let you upload multiple .3mf files at once. They process them in queue and provide individual or zipped STL downloads.
PrusaSlicer command line (scripting):
Create a simple batch script that converts every .3mf in a folder:
for file in *.3mf; do
  prusa-slicer --export-stl "$file" -o "${file%.3mf}.stl"
done
On Windows (PowerShell):
Get-ChildItem *.3mf | ForEach-Object {
  & "C:\Program Files\Prusa3D\PrusaSlicer\prusa-slicer-console.exe" --export-stl $_.FullName -o ($_.FullName -replace '\.3mf$','.stl')
}
Blender Python script:
import bpy
import os

input_folder = "/path/to/3mf/files"
output_folder = "/path/to/stl/output"

for filename in os.listdir(input_folder):
    if filename.endswith(".3mf"):
        bpy.ops.wm.read_homefile(use_empty=True)
        bpy.ops.import_mesh.threemf(filepath=os.path.join(input_folder, filename))
        bpy.ops.object.select_all(action='SELECT')
        output_path = os.path.join(output_folder, filename.replace(".3mf", ".stl"))
        bpy.ops.export_mesh.stl(filepath=output_path, use_selection=True)
These approaches scale to hundreds of files with no manual clicks.
FAQ
Can I convert a 3MF file to STL online?
Yes. Free online tools like ImageToSTL.com, 3DConvert.com, and Meshy.ai convert 3MF to STL directly in your browser. No account or software installation needed. Upload your .3mf file, wait a few seconds for processing, and download the .stl result. Most tools handle files up to 50-100MB for free.
Are 3MF and STL the same?
No. STL is an older format that only stores mesh geometry (the 3D shape as triangles). 3MF is a newer, more capable format that stores geometry plus colors, materials, print settings, multi-part assemblies, and metadata. Think of STL as a plain text file and 3MF as a rich document with formatting, images, and embedded files. They describe the same 3D shape, but 3MF carries much more information about how to print it.
How do you convert STL to 3MF?
Open the STL in Bambu Studio, PrusaSlicer, or OrcaSlicer, then use File > Save Project As (saves as .3mf automatically). On Windows, the built-in 3D Builder app can also Save As .3mf. Online tools like ImageToSTL.com handle the reverse conversion too. Converting STL to 3MF lets you add color assignments, bundle multiple parts, and embed print settings.
How to convert STL or 3MF to G-code?
Both STL and 3MF files need to go through a slicer (Bambu Studio, Cura, PrusaSlicer) to become G-code. The slicer converts the 3D model into layer-by-layer printing instructions your printer can execute. Open the file in your slicer, configure print settings, click "Slice," then export or send the G-code to your printer. For a detailed walkthrough, see our STL to G-code guide.


Comments ()