Painting 3D Prints: A Complete Guide for Beginners
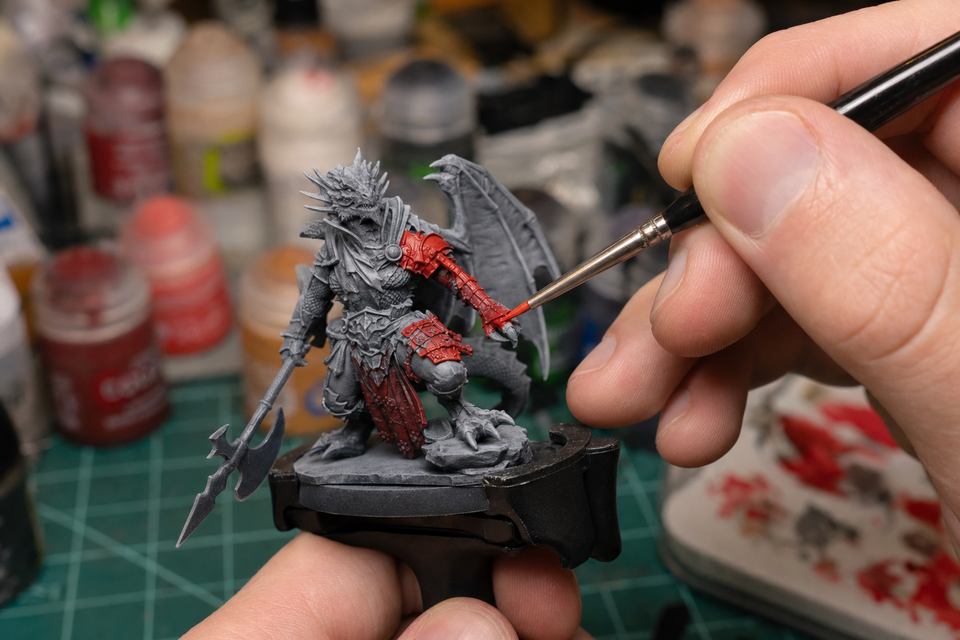
You spent hours dialing in your print settings, waited patiently for the build to finish, and pulled a great model off the bed. But it still looks like… plastic. Gray, monotone, layer-lined plastic.
Good news: painting 3D prints is easier than most people think, and you don't need an art degree or expensive equipment to get results that look genuinely impressive. Whether you want to make an action figure that has a glossy effect, turn a prop into a screen-accurate replica, or simply add some personality to a desk ornament, this guide walks you through everything from the first sheet of sandpaper to the final clear coat.
Can You Paint 3D Printed Items?
Absolutely. PLA, PETG, ABS, and resin prints can all be painted. The real question isn't can you paint them, but how well the paint will stick and how smooth the final result will look.
Two things determine your outcome:
- Surface preparation: layer lines, support marks, and rough patches need to be dealt with before any paint touches the model.
- The right paint and primer combo: not all paints bond well with thermoplastics out of the box.
If you handle those two factors, you can paint 3D printed items to a standard that's indistinguishable from injection-molded products.
What You Need Before You Start
You don't need to spend a fortune. A basic painting kit for 3D prints runs about $20–30, and you probably already have some of the items at home.
Essential Tools and Materials
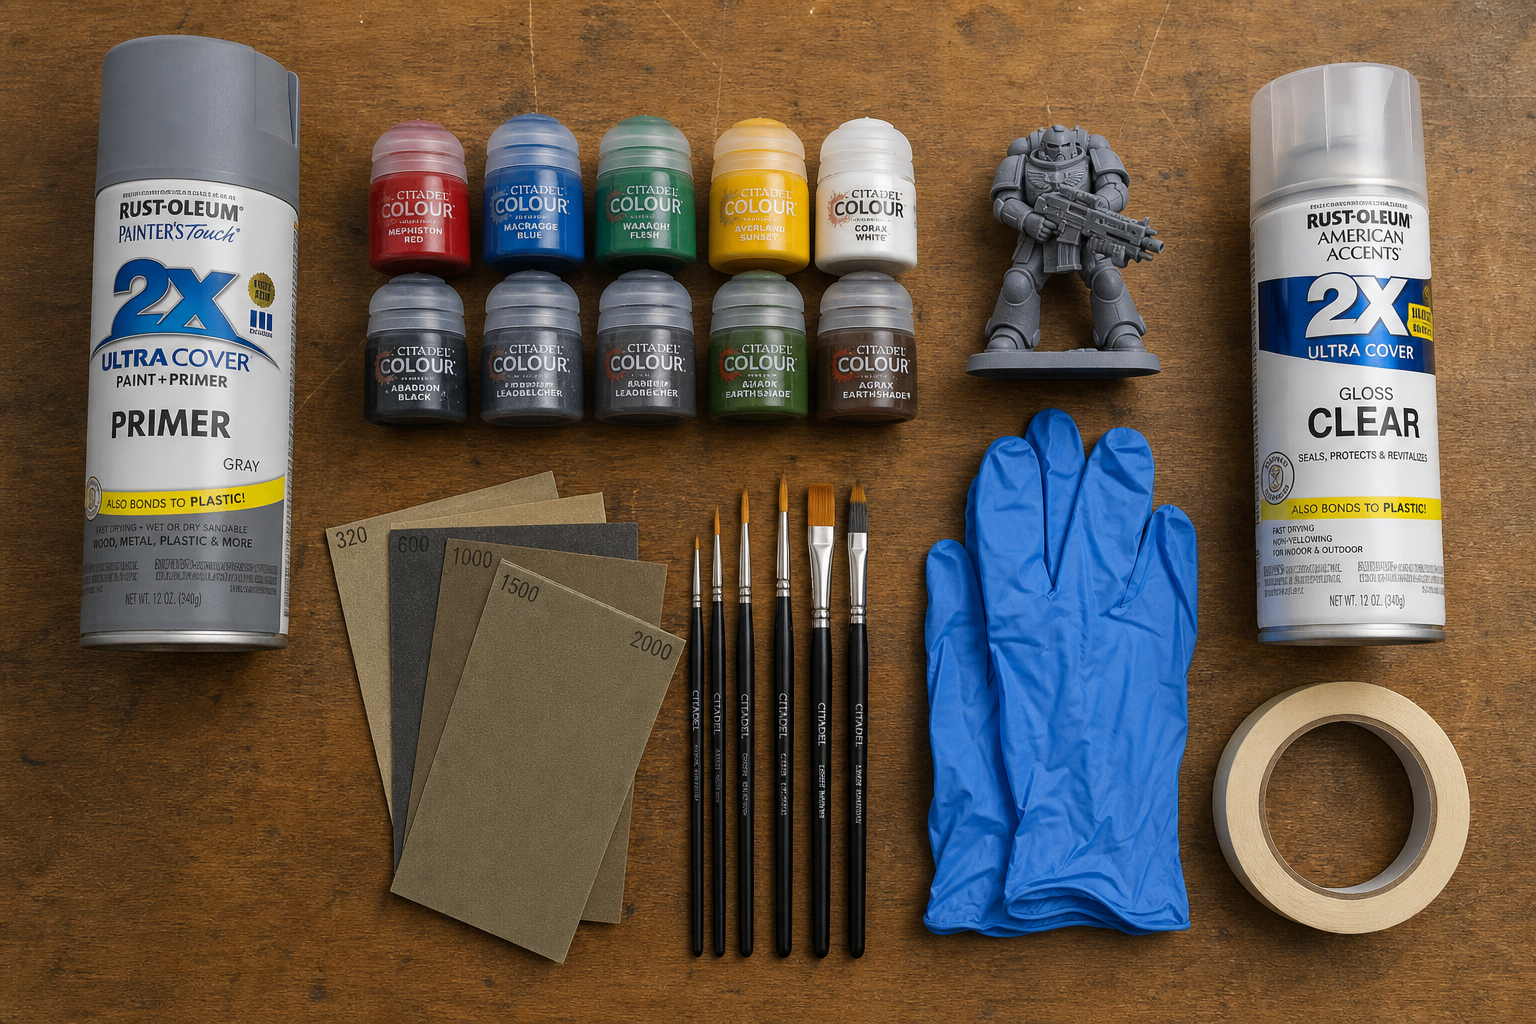
Item | Purpose | Budget Pick |
|---|---|---|
Sandpaper (220, 400, 800 grit) | Smooth layer lines | Any hardware store variety pack |
Spray primer (gray) | Seal surface, improve adhesion | Rust-Oleum 2X Primer |
Acrylic paint | Color your model | Apple Barrel or Vallejo |
Brushes (assorted sizes) | Apply paint by hand | Craft store 5-pack |
Clear coat spray | Protect the finish | Rust-Oleum Clear Gloss/Matte |
Nitrile gloves | Keep paint off your hands | Disposable box |
Masking tape | Protect areas from paint | Standard painter's tape |
Choosing the Best Paint for 3D Prints
Acrylic paint is the best starting point for most people. It's water-based, dries fast, cleans up easily, and bonds well to primed plastic surfaces. Brands like Vallejo, Citadel, and Apple Barrel all work. Citadel and Vallejo are formulated for miniatures and offer better pigment density, while Apple Barrel is dirt cheap and fine for larger prints where absolute precision doesn't matter.
Spray paint (like Rust-Oleum or Tamiya) is ideal for large, even coverage. It's faster than brushing and leaves no brush strokes. Tamiya's TS line is a favorite among model builders because it goes on extremely thin.
Enamel paints give a harder, more durable finish but take longer to dry and require mineral spirits for cleanup. They're worth considering for parts that will be handled frequently.
For acrylic paint for 3D printed models specifically, thin the paint slightly with water (roughly 1:1 ratio for brushing) to avoid clumpy layers that obscure detail.
My Paint Recommendation After Too Much Trial and Error
I tested probably eight different paint brands before settling on what I use now, and the answer is annoyingly simple: Vallejo Model Color for anything detailed (miniatures, figurines, props), and Rust-Oleum 2X spray for anything large (helmets, vases, wall art).
The mistake I kept making early on was skipping primer. I convinced myself that "this PLA is already white, why add more white on top?" Because paint adhesion on bare PLA is terrible, that is why. Every time I skipped primer, the paint scratched off within days. Now I prime everything with a single thin coat of gray Rust-Oleum Primer, wait 20 minutes, and the acrylic paint bonds permanently. Gray primer specifically, not white, because gray makes it obvious if you missed a spot and provides a neutral base that does not shift your paint colors.
One more tip that nobody mentions: do not try to achieve full coverage in one coat. Three thin coats look infinitely better than one thick coat. Thick paint pools in recesses, hides detail, and dries with visible brush strokes. Thin coats dry fast, layer perfectly, and let the model's sculpted detail shine through.
Prep Your Print Before Painting
This is where most beginners go wrong. They skip straight to paint and end up with a result that looks worse than the bare plastic. Every experienced 3D print painter will tell you the same thing: surface prep is 80% of the work.
Sanding Your Print Smooth
Start with 220-grit sandpaper to knock down the layer lines and any obvious bumps. Work your way up to 400, then 800 for a smooth surface. Sand in small circular motions and avoid pressing too hard in one spot.
Wet sanding (dipping the sandpaper in water while you work) reduces dust, prevents the sandpaper from clogging, and produces a smoother result. It's especially helpful on the finer grits.
For a deep dive into techniques, grits, and material-specific tips, check out our full guide to sanding 3D prints.
Pro tip: After sanding, run your fingernail lightly across the surface. If you can still feel individual layers, keep sanding.
Cleaning Before Primer
Once sanding is done, wash your print under warm water with a drop of dish soap. This removes sanding dust, oils from your fingers, and any residue that would prevent the primer from bonding. Let it dry completely — moisture trapped under primer causes bubbling and peeling.
A quick wipe with isopropyl alcohol after drying gives you an extra-clean surface.
Can You Paint 3D Prints Without Sanding?
Sometimes, yes. If you're painting a model with a lot of organic texture (tree bark, rocky surfaces, creature skin), the layer lines can actually add to the natural look. Resin prints with very fine layer resolution (0.025–0.05 mm) often don't need sanding at all.
But for anything smooth — helmets, vehicles, figures with flat armor panels — skipping sanding will haunt you. Layer lines show through paint like wrinkles under a thin shirt.
Priming: Why It Makes or Breaks Your Paint Job
A 3D print primer does three things that bare plastic cannot:
- Fills micro-gaps between layer lines that sanding alone can't remove
- Creates a uniform color base so your paint looks consistent
- Gives paint something to grip — raw PLA is slightly waxy and paints tend to bead up or peel without primer
Filler Primer vs Regular Primer
Filler primer (like Rust-Oleum Filler Primer or Tamiya Surface Primer) is thicker and designed to fill small imperfections. It's the best choice for FDM prints where layer lines are still slightly visible after sanding.
Regular primer is thinner and preserves more surface detail. Use it on resin prints or parts you've already sanded to near-perfection.
Apply primer in 2–3 light coats from about 15–20 cm away. Spray in short, sweeping motions. Heavy coats will drip and pool in recesses, hiding detail you worked hard to preserve.
Can You Paint Without Primer?
You can, but the results will suffer. Without primer:
- Colors look uneven (the gray plastic shows through thin areas)
- Paint chips off more easily with handling
- You'll need more coats to get solid coverage
The one exception: well-cured resin prints with very smooth surfaces sometimes accept acrylic paint directly, especially if lightly scuffed with fine sandpaper first. But even then, primer gives you a better result for minimal extra effort.
How to Paint 3D Prints Step by Step
With your print sanded, cleaned, and primed, the actual painting is the fun part.
Step 1: Apply the Base Coat
The base coat is your foundation color. If your final color is light (yellow, white, bright red), apply a white or light gray base. For dark final colors, a black base coat adds depth.
Apply paint in thin, even layers. Whether you're using a brush or spray, the golden rule is: two thin coats are always better than one thick coat. Thick paint obscures detail, takes forever to dry, and often cracks.
Step 2: Build Up Color in Thin Layers
After the base coat dries (usually 15–30 minutes for acrylics), add your main color. Apply it thinly and let each layer dry before adding the next. Most colors need 2–3 layers for full opacity.
When painting 3D printed models with a brush, load just the tip with paint and use long, consistent strokes in one direction. Changing direction mid-stroke creates visible brush marks.
Step 3: Add Details and Highlights
Switch to smaller brushes for fine details. Techniques that work beautifully on 3D prints:
- Dry brushing — Load a brush with paint, wipe most of it off on a paper towel, then lightly drag across raised edges. This picks out surface detail and adds a realistic worn look.
- Washing — Thin dark paint heavily (10:1 water to paint) and let it flow into recesses. Wipe the high surfaces clean. This adds instant shadow and depth.
- Edge highlighting — Use a fine brush to paint thin lines of a lighter color along sharp edges.
Step 4: Seal with Clear Coat
Once you're happy with the paint job, protect it. A clear coat seals everything in, prevents chipping, and lets you choose your final surface finish:
- Gloss — Shiny, reflective surface. Great for vehicles, armor, and anything you want to look polished. This is how you achieve 3D effects and glossy effect on your models.
- Satin — A subtle sheen that looks natural on most objects.
- Matte — Flat, non-reflective finish. Best for organic subjects, military models, and anything that shouldn't look "plasticky."
Apply clear coat in 1–2 light passes. Over-applying causes cloudiness (especially with matte finishes).
Brush, Spray, or Airbrush: Which Method Is Best?
The best way to paint 3D prints depends on what you're making, your budget, and how much control you need.
Brush Painting
Best for: Miniatures, small detail work, tight budgets
Brush painting gives you the most control over exactly where paint goes. You can blend colors, work on tiny details, and you need almost no setup. The downside is brush strokes — on large flat surfaces, they're visible unless you thin your paint properly and apply multiple careful layers.
Cost to start: $10–20 (brushes + craft acrylics)
Spray Painting 3D Prints
Best for: Large props, cosplay armor, even base coats
Spray paint for 3D prints covers large areas fast and leaves zero brush marks. It's the fastest way to get an even base coat on a big piece. The trade-off is lack of precision — you'll need masking tape to protect areas you don't want painted, and you must work in a well-ventilated area.
Cost to start: $15–25 (primer + color + clear coat cans)
Airbrush Painting
Best for: Professional-quality results, smooth gradients, miniatures
An airbrush gives you the smooth finish of spray paint with the precision of a brush. You can create gradients, fade between colors, and apply incredibly thin layers. The catch? The setup cost is higher and there's a learning curve.
Cost to start: $60–100 (basic dual-action airbrush + compressor)
For most beginners, start with brush painting for small prints and spray paint for larger ones. Move to an airbrush once you've outgrown those methods.
Painting PLA, PETG, and Resin: Material-Specific Tips
Not all 3D printing materials behave the same way under paint. Here's what you need to know for each.
How to Paint PLA 3D Prints
PLA is the easiest material to paint. It sands well, accepts primer readily, and holds acrylic paint without issues. The main challenge is the layer lines — PLA prints at standard settings (0.2 mm layer height) have visible stepping that needs sanding.
When painting PLA plastic, avoid using paints that contain strong solvents (like lacquer thinner applied heavily). PLA has a low glass-transition temperature and aggressive chemicals can soften or warp the surface.
Quick recipe for PLA: Sandpaper (220 → 400 → 800) → Gray spray primer → Acrylic paint → Clear coat
Painting PETG
PETG is trickier than PLA. Its surface is smoother and more chemically resistant, which sounds good but actually means paint and primer have a harder time gripping it.
Key differences when painting PETG:
- Always use primer — paint alone will scrape right off
- Scuff the surface first with 320-grit sandpaper to create mechanical grip
- Avoid acetone — unlike ABS, PETG doesn't smooth with acetone and it can cause stress cracking
- Allow extra drying time between coats (PETG's smooth surface means paint takes longer to fully bond)
Painting Resin Prints
Resin prints are a painter's dream. The layer lines are virtually invisible, and the surface is already smooth. Your main prep work is:
- Make sure the print is fully cured (under-cured resin stays tacky and paint won't adhere)
- Wash off any uncured resin residue with isopropyl alcohol
- Light scuff with 600+ grit sandpaper (optional but helps adhesion)
Resin accepts both acrylic and enamel paints directly. Many painters skip primer on resin prints entirely, though a light coat still helps with color consistency.
Special Effects: Metal, Weathering, and Glossy Finishes
Once you've mastered the basics, these techniques will take your painted 3D prints to the next level.
Painting 3D Prints to Look Like Metal
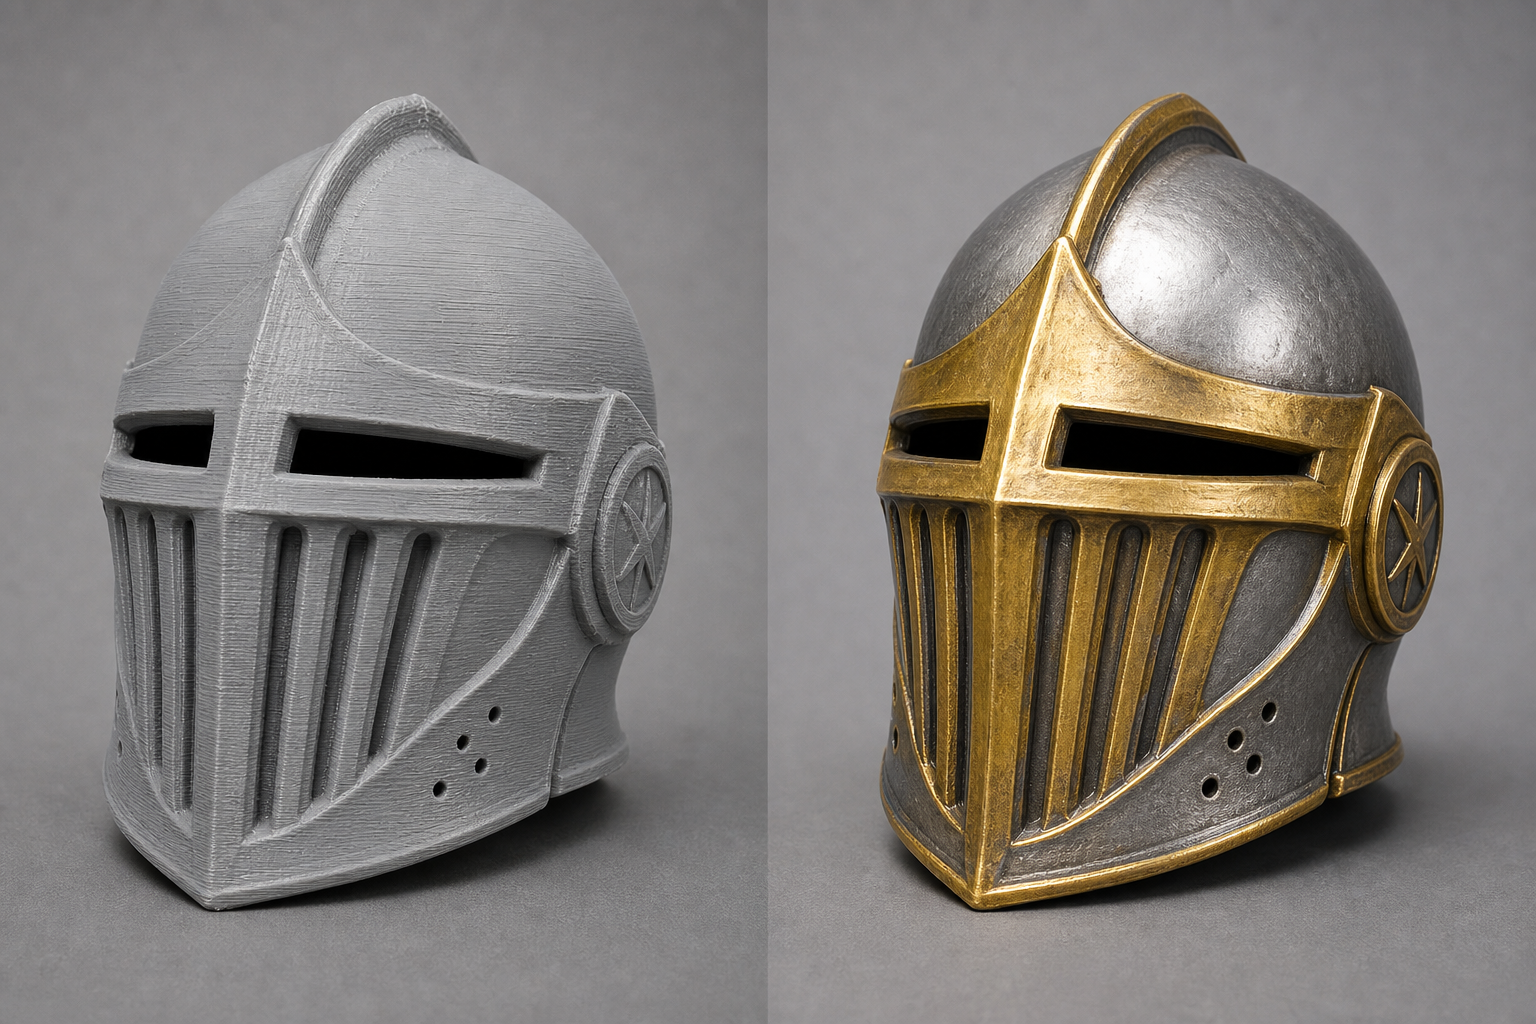
There are several ways to achieve a convincing metallic finish:
Metallic acrylic paints (Vallejo Metal Color, Citadel Leadbelcher) — The easiest option. Apply over a black base coat for the most realistic effect.
Rub 'n Buff — A wax-based metallic finish you literally rub on with your finger. Gives an incredibly realistic brushed metal look, especially over a dark base.
Dry brushing with metallic paint — Apply a dark base, then dry brush silver or gold over raised edges. This creates the look of worn metal where paint has chipped away, and it's how you make a 3D print look like a real prop weapon or piece of armor.
Before and after: raw 3D print vs painted metallic finish
Weathering and Aging Effects
Want your model to look like it's been through battle or sat in a dusty workshop for decades?
- Pin wash — Mix dark brown or black paint very thinly and apply it only into panel lines and recesses with a fine brush. Capillary action pulls it into the cracks.
- Dry brushing highlights — A lighter version of the base color dry-brushed over edges simulates wear and sun bleaching.
- Sponge chipping — Tear a small piece of foam, dip it in a dark metallic color, and dab it lightly on edges where real paint would chip off.
Achieving a Glossy or Matte Finish
For a high-gloss finish that looks like polished plastic or lacquered wood:
- Sand your clear coat between applications with 1500+ grit sandpaper
- Apply 3–4 thin clear gloss coats, letting each one cure fully
- Polish the final layer with a microfiber cloth and plastic polish
This is how cosplayers make 3D printed items look like they have that premium, make-it-like-3D-style-in-glossy-style factory finish. The secret is patience between coats.
For matte, it's simpler — a single coat of matte clear spray flattens everything evenly.
Common Painting Mistakes (and How to Fix Them)
Even experienced painters run into problems. Here's what goes wrong and how to recover:
Problem | Cause | Fix |
|---|---|---|
Paint peeling off | No primer, or surface had oils/dust | Strip paint, clean thoroughly, re-prime |
Visible brush strokes | Paint too thick, or wrong brush type | Thin paint more, use soft synthetic brushes |
Drips and runs | Spraying too close or too long | Let dry, sand drip flat with 800 grit, recoat |
Grainy/rough texture | Spray can too far away (paint dries mid-air) | Sand smooth, recoat from proper distance |
Details disappearing | Too many thick coats | Prevention only — use thinner coats from the start |
Bubbling under paint | Moisture trapped under primer | Strip to bare plastic, ensure fully dry before priming |
Uneven color | Primer didn't fully cover, or base coat patchy | Add another primer coat, build up base evenly |
The universal fix: When in doubt, let the paint cure completely, sand the problem area smooth with fine-grit sandpaper, and start again from primer on that section. You rarely need to strip an entire model.
FAQ
What kind of paint do you use on 3D prints?
Acrylic paint is the best all-around choice for painting 3D prints. It works on PLA, PETG, ABS, and resin. It's water-based, dries in minutes, and cleans up with water. For spray applications, look for paints labeled "plastic compatible" (Rust-Oleum, Krylon, Tamiya). Always apply a primer first for the best adhesion and color accuracy.
Can you paint directly on 3D prints?
You can, but the results won't be great. Raw 3D printed plastic (especially PLA) has a slightly waxy surface that causes paint to bead up or peel over time. A quick coat of spray primer takes five minutes and dramatically improves how paint adheres and looks. If you absolutely must skip primer, at least sand the surface with 400-grit sandpaper to give the paint something to grip.
Can I paint 3D printed objects without primer?
It's possible on certain materials. Resin prints that are fully cured and lightly sanded often accept acrylic paint directly. Some textured PLA prints (like those with wood fill or matte finishes) can also hold paint without primer for decorative purposes. However, for anything that will be handled, displayed long-term, or needs a clean professional look, primer is strongly recommended as a 3D print finisher step.
Can I paint 3D prints without sanding?
Yes, in specific situations. If your print has intentional texture, very fine layer lines (below 0.1 mm), or you're going for a rough/organic aesthetic, you can skip sanding. However, layer lines will be visible through paint on smooth surfaces. A compromise is to use a filler primer (which partially fills layer lines without sanding) — it won't give you a glass-smooth surface, but it's significantly faster than full 3D print finishing with sandpaper.
*Last updated August 2026. Paint brands and primer picks tested on PLA and PETG prints.

Comments ()